Week 2 - Household Object Creation
This week's task was an extra to do in our own time, for this task I have created a mug from my kitchen in Maya (untextured), and I put a simple Phong material on it to emulate ceramic.
This is the mug I chose: Using the the knowledge I previously acquired from lectures and tasks, I created a cylinder and added several edge loops to create the curvature for the main body. I then added curve using the EP Curve Tool to create the base shape for the handle, at which point I used the "Bonus Tool" Curve to Tube Mesh. This resulted in a very thick tube, which I had to scaled down using the Attribute Editor. I then added divisions and used the smooth tool to create a very smooth curve for the handle. I also flattened it to create an oval tube which is how my reference model looked.

Once this was done, I extruded the curved cylinder after deleting the to faces and this created a "lip", I then extended this down to the bottom and used the Bridge tool to created a bottom for the mug, once this was done, I worked on curving the inside of the mug with more edge loops. I then bevelled the lip of the mug until it was as curved as my reference mug.
I then used a "Union" Boolean Operation so that the handle and the mug were combined as a single object, at which point I added more divisions and smoothed everything out and added my Phong material whilst change the reflection colour to give it more of a shine close to ceramic.
Here is the finished (untextured) model:


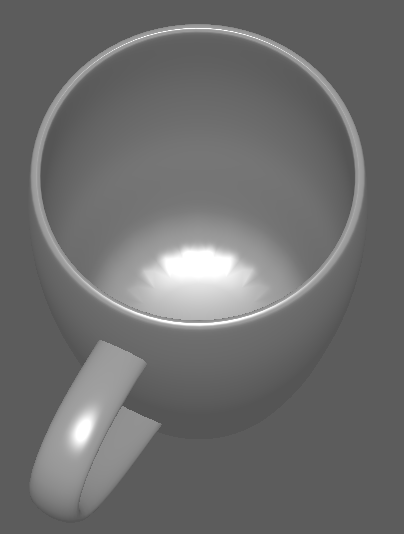
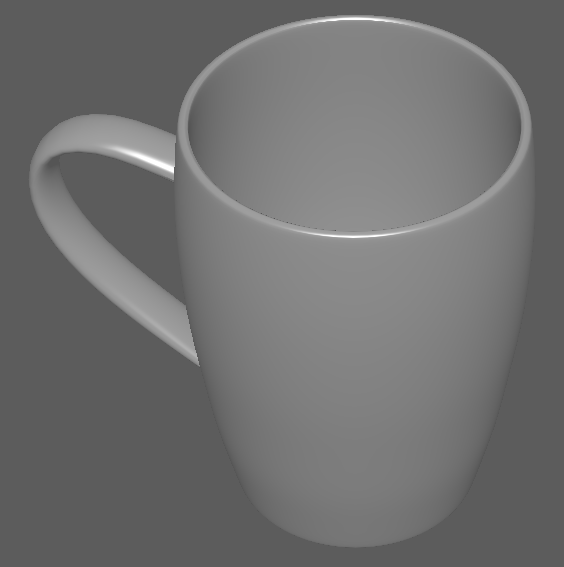
I love how this turned out, I like the shine created by the Phong material and I believe this best represents the mug I used as this too has a similar shine. I wish I had UV Unwrapped the object and applied a texture as I believe this would have made a huge difference to the quality of the object.
Comments
Post a Comment